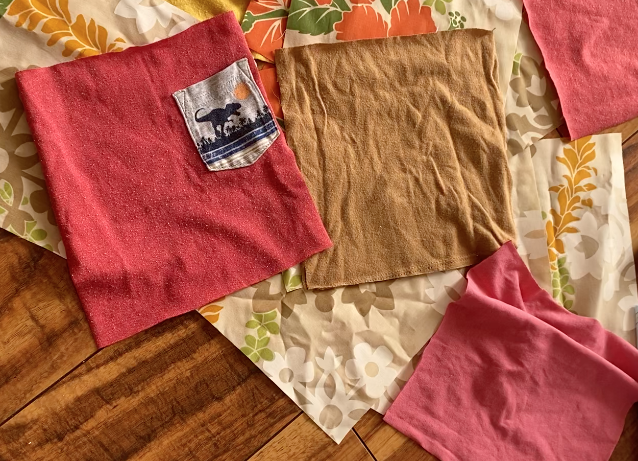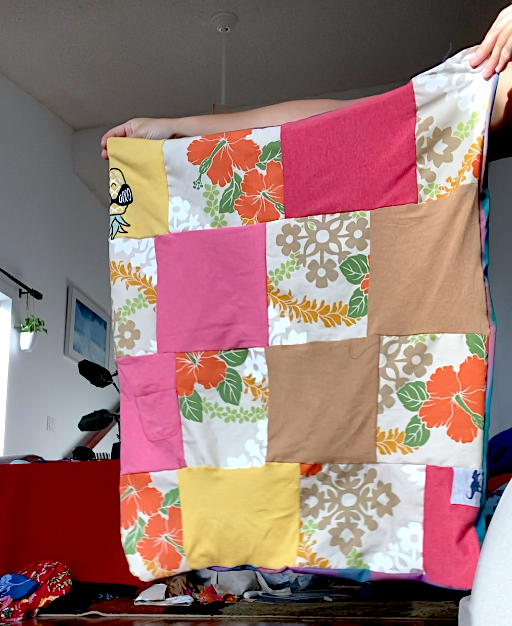
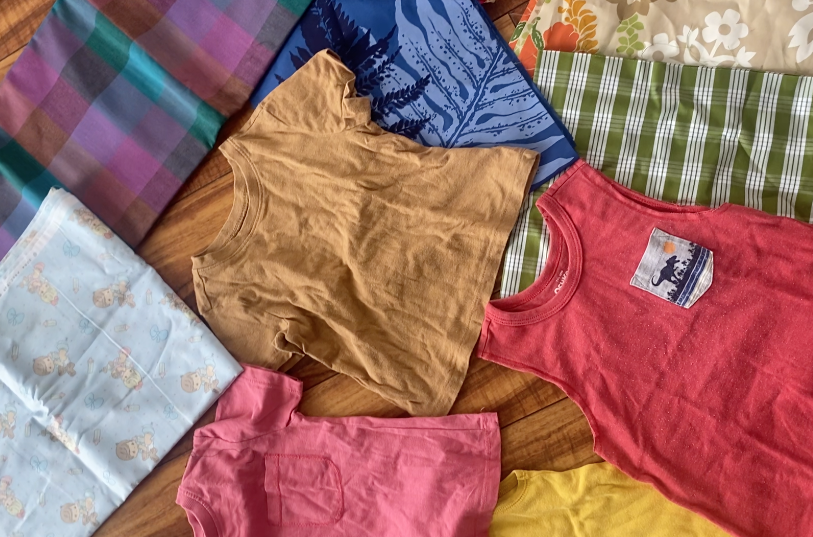
Do you have old fabrics and t-shirts laying around? Don’t throw them out! Use them to create a simple quilt filled with memories. All you need is scissors or a rotary cutter, old fabric, and a sewing machine.
Reusing old clothing in new and creative ways is just one way you can help protect our water. People in the U.S. throw out more than 34 billion pounds of clothes every year, making textiles one of the largest contributors to our landfills. Unwanted and improperly disposed of clothing can clog storm drains, preventing proper water flow and exacerbating flooding. Learn more in our blog post about Clothes and the Environment.
Follow the steps below and soon you’ll have your own customized quilt!
FRONT SIDE:
- Prepare your fabric: Using your old fabric, cut squares as small or as big as you want. Smaller squares will require you to cut more pieces, while larger squares will need fewer. The total number of squares needed depends on the desired size of your quilt. The combined size of your fabric square should be about six inches larger than your ending quilt size. For example, if you want your quilt to be 60 in. x 72 in., the total area of your squares should be at least 66 in. x 78 in. This ensures adequate seam allowance.
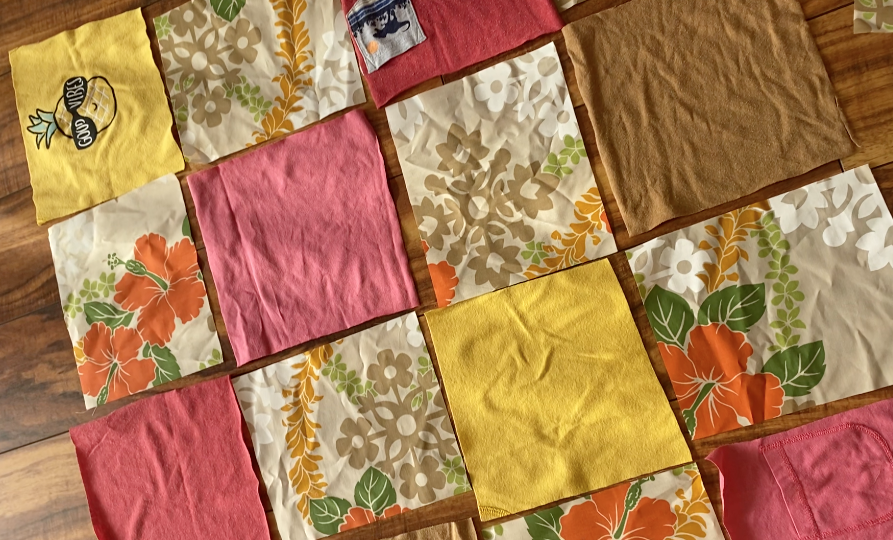
- Arrange your squares: Arrange your squares how you’d like them to appear in your quilt. You can arrange them randomly or create a pattern, depending on the quantity and type of fabric you have.
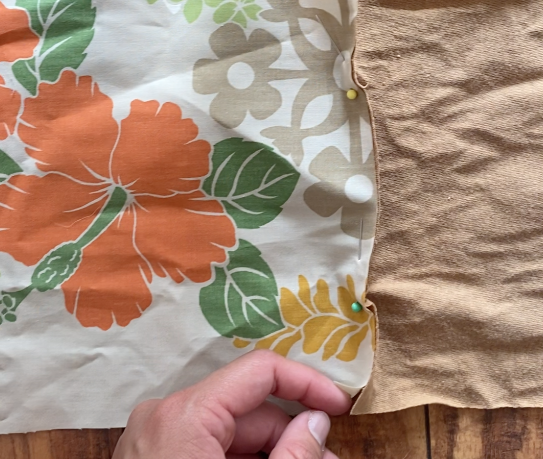
- Pinning the squares: Once you’ve arranged your squares, start by pinning together one row at a time. Make sure the right sides of the fabric are facing each other to maintain the order of each row.
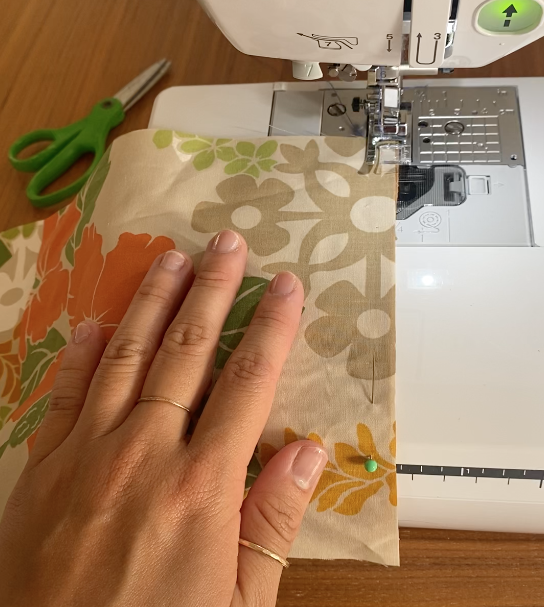
- Sewing the rows Sew along the pinned edges of each row to secure them together.
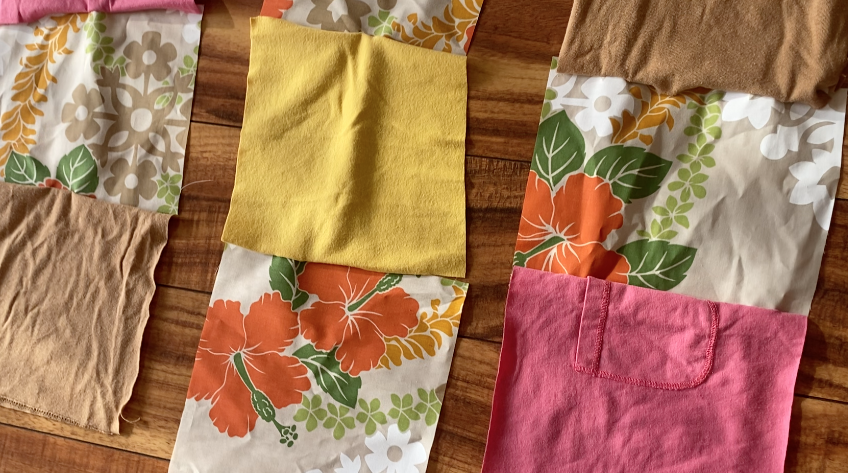
- Assemble the quilt: Repeat step four for each additional row until all rows are sewn.
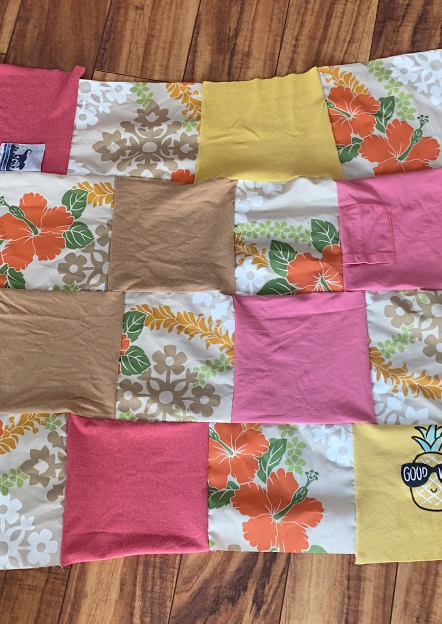
- Connecting the rows: Pin two completed rows together with the right sides facing and sew along the edge. Repeat until all the rows have been connected. Now, one side is complete!
BACK SIDE:
- Create the back: Repeat steps one through six to create the other side of your quilt. If you want a warmer quilt for winter months, you can back the quilt with flannel. Alternatively, you can use fleecing or batting between the top and bottom layers of your quilt to provide extra stability and warmth.
ATTACHING:
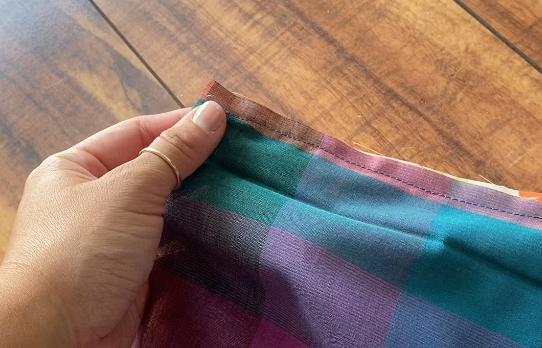
- Combine the sides: Place the front and back sides of your quilt together with the right sides facing each other. Pin around the edges and sew them together, leaving 7-8 inch opening at one corner for turning.

- Finish the quilt: Turn the quilt inside out through the opening. Close the hole by hand or machine sewing it shut. If you would like to quilt the top and bottom together, now is the time to add any quilted designs. This can be done by hand or on a sewing machine. Your quilt is finished!
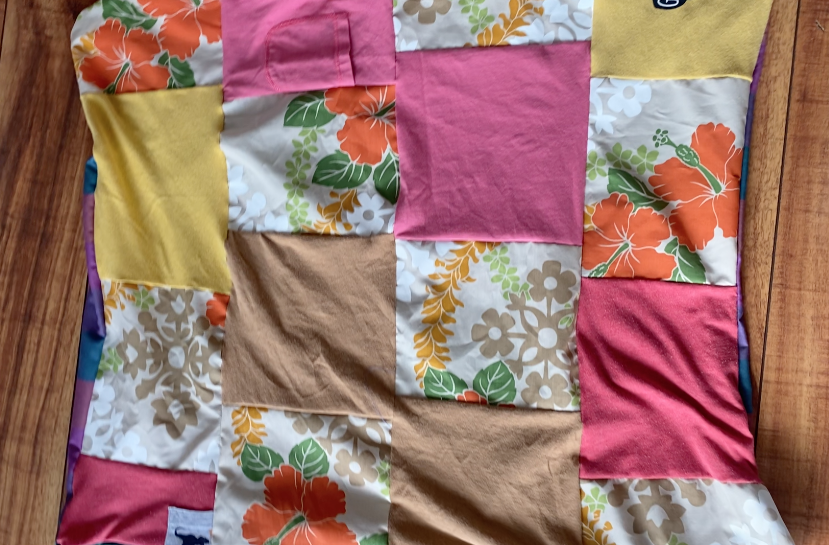
This is a great way to use your fabrics to make eco-friendly gifts and to prepare for the cooler months ahead. The quilt can also be used as an alternative to traditional wrapping paper. If you try this eco-friendly project, post a picture and tag us on Facebook or Instagram @stormwaterhawaii.
If you want even more ways to make environmentally conscious changes with your clothes, check out our blog about how to Green Your Wardrobe.


